| Index
PGPdisk Note: Click on
thumbnail pictures to view full-size screenshots. |
||
| PGPdisk | ||
| Shot | Caption | Comments |
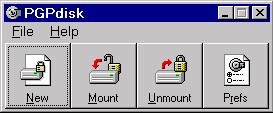 |
PGPdisk toolbar | PGPdisk is a special PGP
component that allows us to encrypt files on our hard drive and store them in
"container" files that can then be "mounted" as virutal
drives. When mounted, these vritual drives look and behave just like any other
drive on our system. The PGPdisk toolbar gives you access to the most important functions of PGPdisk. You can launch the toolbar either from the PGP program group on the Start menu or from the PGPtray icon next to the clock on the taskbar. |
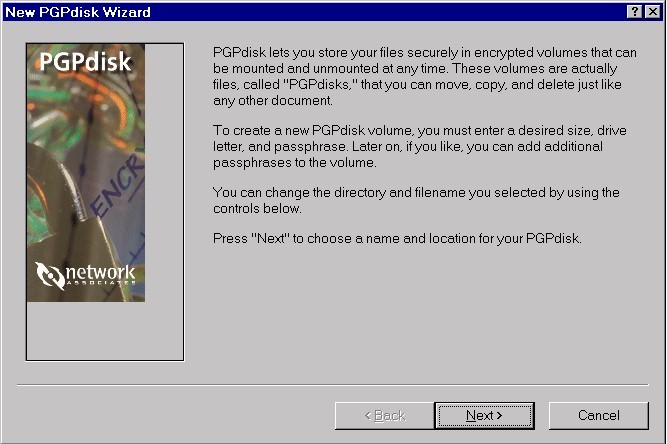 |
PGPdisk Wizard | The PGPdisk Wizard will walk us through the steps of creating a virtual drive that can be mounted and dismounted on the fly.. |
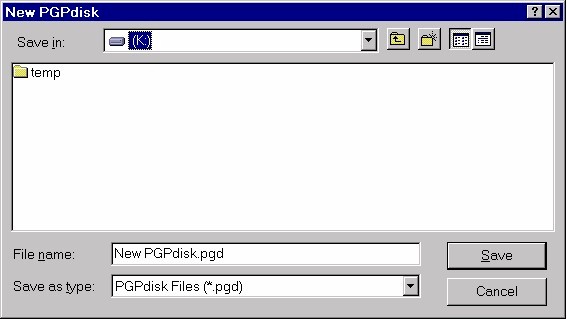 |
New PGPdisk | First, we must specify the name and location of the container file. Our virtual drive will, in actuality, be merely a file that PGPdisk opens up and reads. When we mount our virtual drive, PGPdisk will display the contents of this container file as a drive that looks like any other drive we have on our system. |
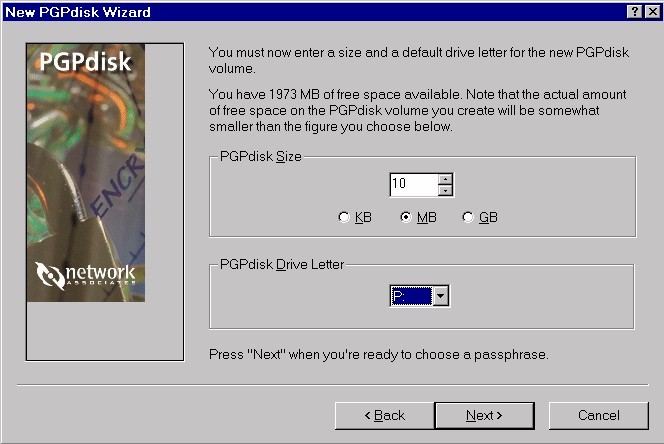 |
specify PGPdisk Size & Drive Letter |
Next, we specify the size of the container file (which corresponds to the size of the virtual drive we will see when PGPdisk mounts it). We also specify what drive letter we would like our virtual drive to use. We should pick a drive letter that doesn't already exist on our system. |
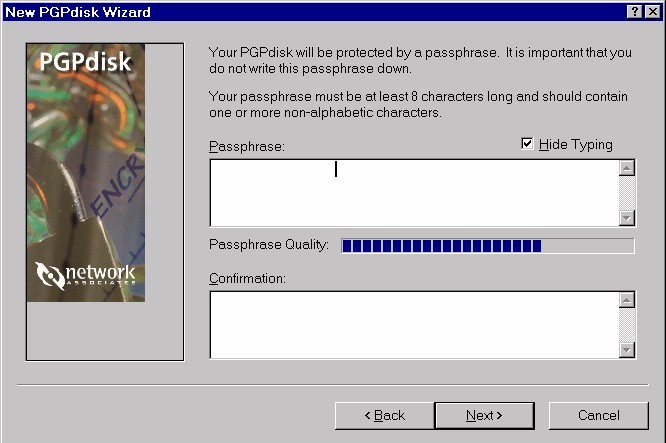 |
generate Passphrase | Now we generate a passphrase for PGPdisk to use to encrypt the container file. This is the passphrase we will have to supply in order to prompt PGPdisk to mount our virtual drive. Without the correct passphrase, PGPdisk will not open the container file, mount the virtual drive, and give you access to its encrypted contents. |
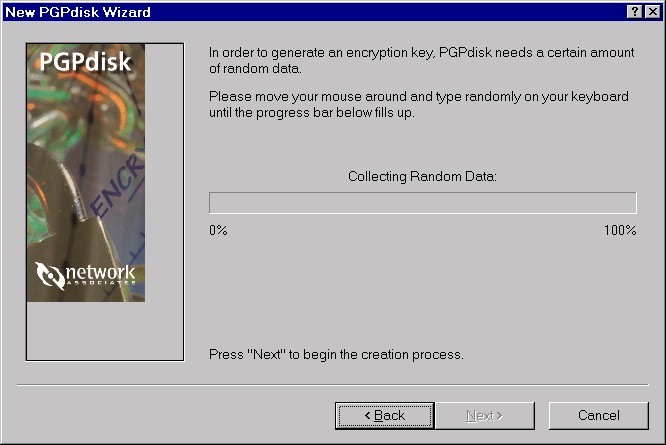 |
Collecting Random Data (seed generation) |
When we encrypt container files for use as virtual drives, we are not using a public-private key pair like we do with PGPmail. Instead we are using a symmetrical encryption process (the same key which encrypts the data is used to decrypt the data, unlike the asymmetrical public-private key pair system). To ensure that the encryption process cannot be easily analyzed and cracked, PGPdisk collects randomly generated data (seed data) to complicate and randomize the encryption process. |
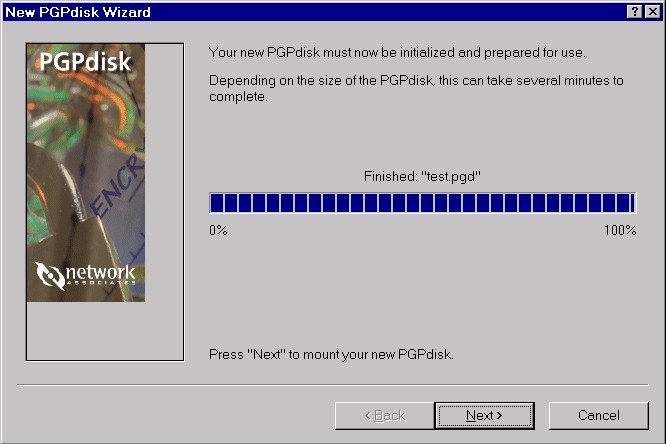 |
initializing/creating disk volume | Now PGPdisk creates the container file on our hard drive. |
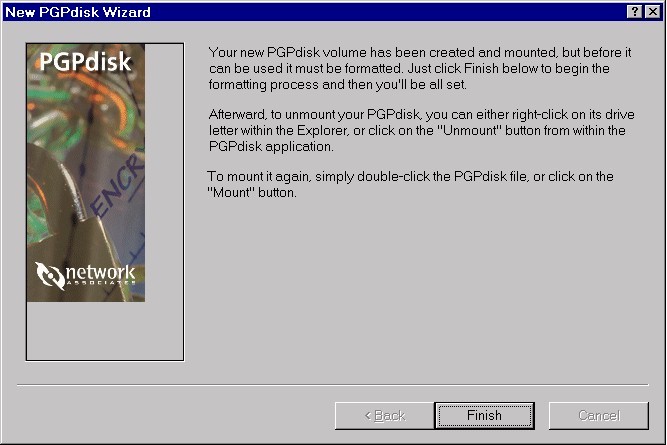 |
disk volume created & mounted | When you create a new container file, PGPdisk automatically mounts it for you as a virtual drive. But we're not quite ready to start moving files onto our virtual drive. |
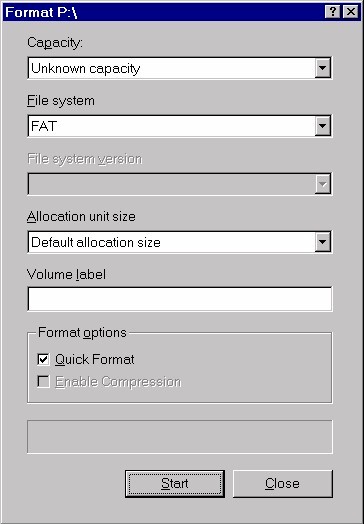 |
Format disk volume | Like any other drive that is added to our system, this one must be formatted to use a file system that Windows recognizes. |
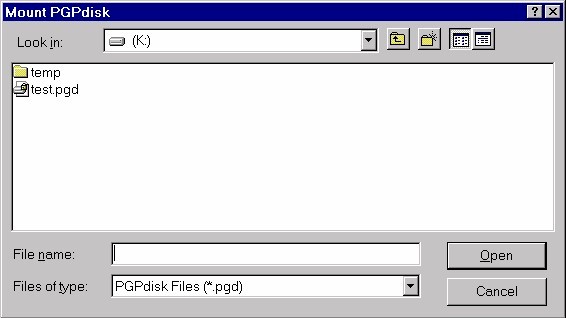 |
Mount PGPdisk volume | When we create a new virtual drive, PGPdisk automatically mounts it for us. In the future, however, we will have to mount the drive ourselves. We can either go through the PGPdisk toolbar and specify the container file we wish to mount as a virtual drive... |
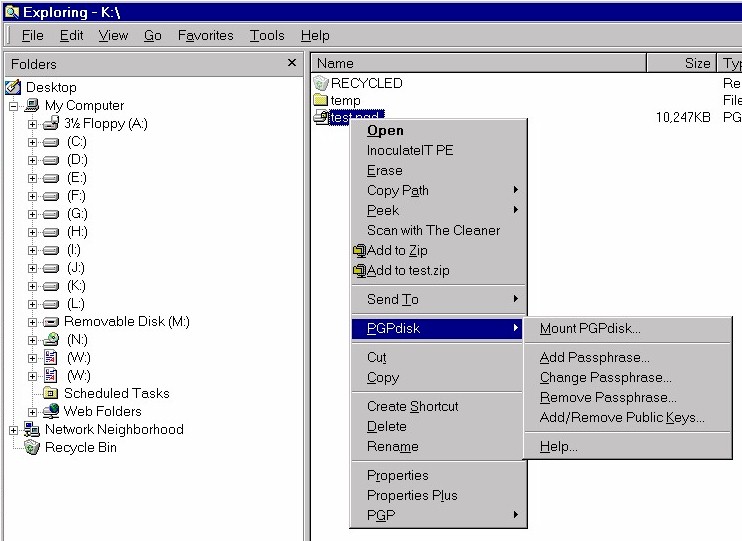 |
Mount PGPdisk volume from popup menu |
...or we can right-click on container file we wish to mount, and use the context menu which pops up. When we mount a container file as a virtual drive, PGPdisk opens up the file and allows changes to be made to it... |
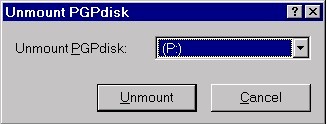 |
Unmount PGPdisk volume | ...which is why it is important to unmount the drive once we're through working with the files on it. As long as a drive is mounted, anyone with access to our computer can access those files. Again, to unmount the drive, we can either use the PGPdisk toolbar... |
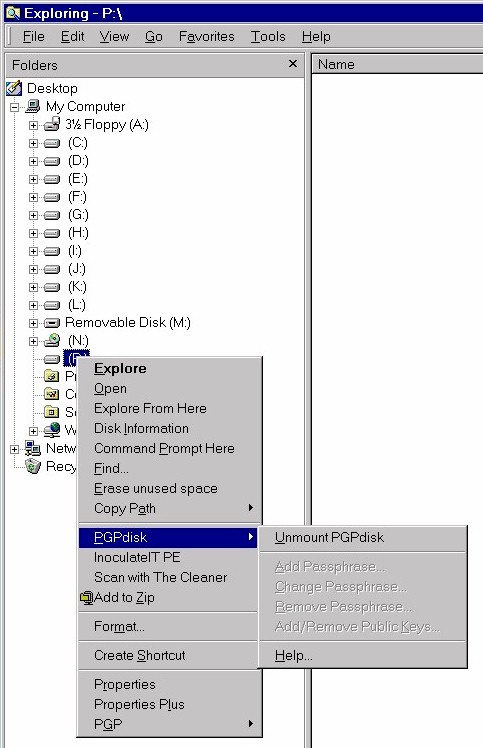 |
Unmount PGPdisk volume from popup menu |
...or right-click on the mounted drive (which you can see here as drive P: in this screenshot) and use the context-menu. |
| PGP - File Shredding | ||
| Shot | Caption | Comments |
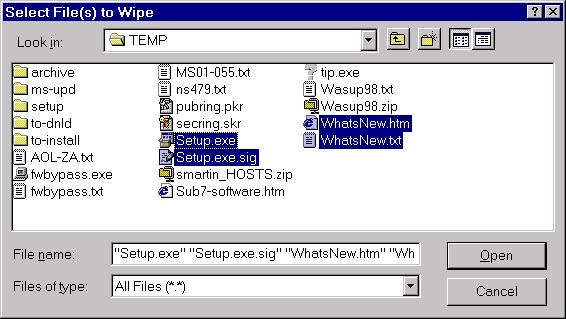 |
Select File(s) to Wipe | It's easy to securely delete (or shred) files with PGP. Using the PGP Tools toolbar (accessible from the Start menu or PGPtray), we select Wipe, then specify the files we wish to wipe (or shred). |
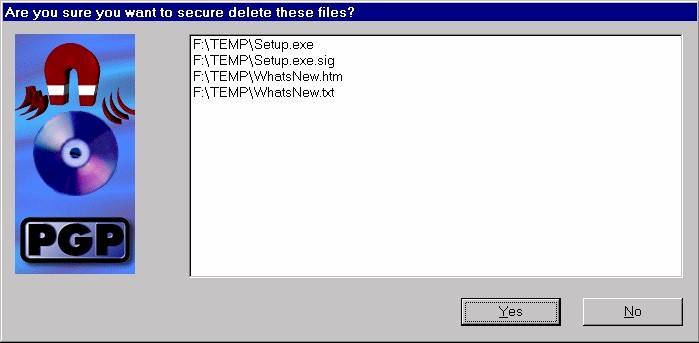 |
Are you sure you want to secure delete these files? |
PGP asks us if we are sure that we want to secure wipe these files, because once we do, we won't be able to get them back. |
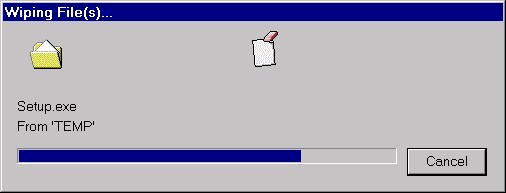 |
Wiping File(s)... | And here is PGP wiping (shredding) the files we selected. |
| PGP - Disk Wiping | ||
| Shot | Caption | Comments |
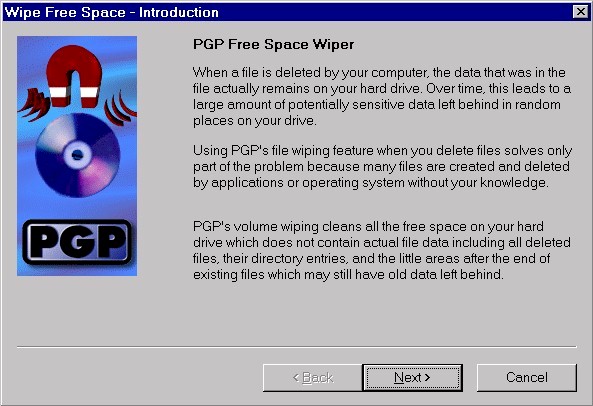 |
Wipe Free Space - Introduction | We can also use PGP to wipe the free space on a drive. Free space is free for use, but that doesn't mean there are no data in those spaces. PGP will wipe the free space on the drive to ensure that absolutely nothing remains for someone to recover. |
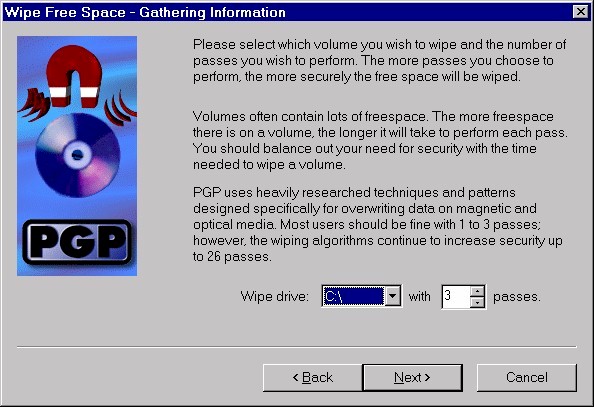 |
Wipe Free Space - Gathering Information |
Here we specify which drive we want to wipe, and how many wipes we want PGP to perform. Don't worry -- PGP will wipe only free space (space which Windows says is open for use), not any of our actual files. |
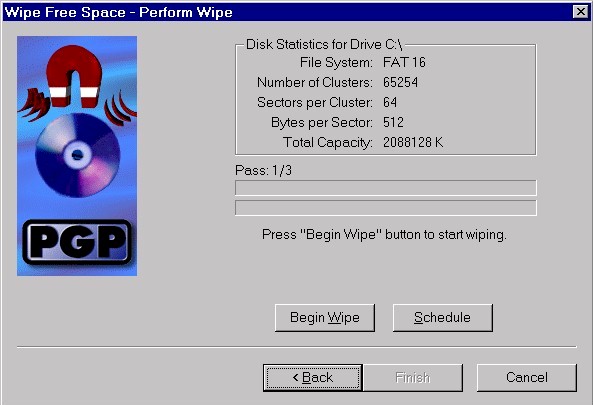 |
Wipe Free Space - Perform Wipe |
Now we're ready to begin. PGP will show us a status or progress meter as it performs the wipes. Note that wiping the free space on a large drive that's mostly empty can take a long time. And the more wipes you choose, the longer it takes. More wiping also means more difficulty for anyone actually trying to recover data from the drive, though. |
| PGP - File Encryption/Decryption | ||
| Shot | Caption | Comments |
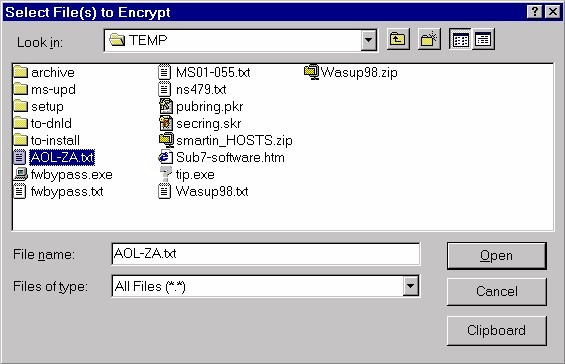 |
Select File(s) to Encrypt | We can use PGP (through the PGPtools toolbar) to encrypt individual files. Encrypting files is very similar to encrypting email messages. When we encrypt individual files, we use the same public-private key encryption scheme that we use when encrypting email, making file encryption in PGP a bit different than the virtual drive encryption we saw above with PGPdisk. The first thing we do is select the file(s) we wish to encrypt. |
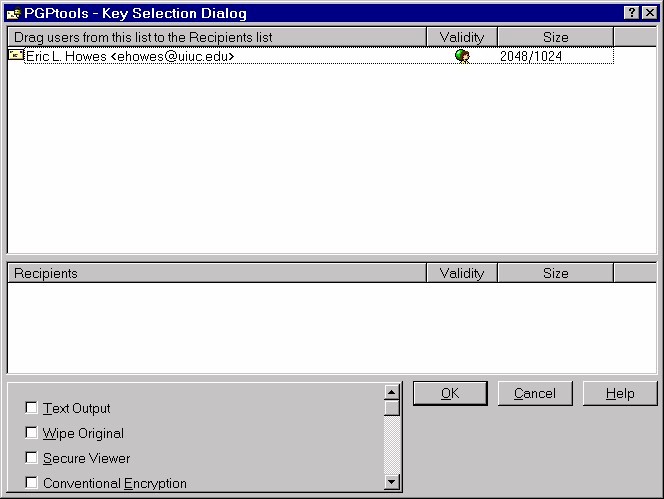 |
select Public Key/Recipient to encrypt with/for (1) |
Now we select the public key of the recpient to whom we will send the file(s). |
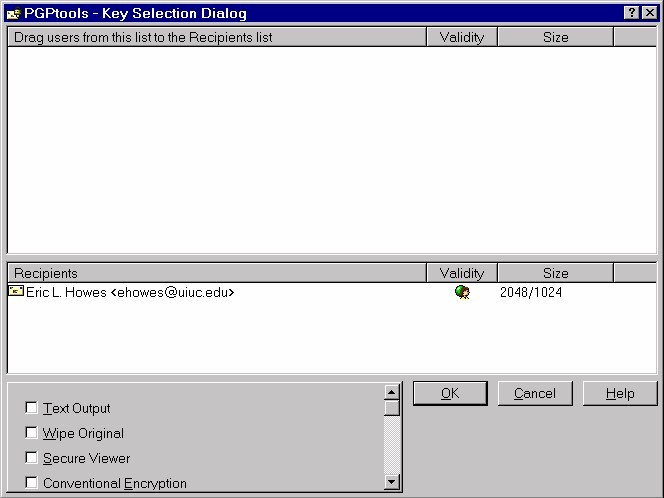 |
select Public Key/Recipient to encrypt with/for (2) |
We drag the public key of the intended repient of our encrypted file(s) down to the Recipients list. PGP then encrypts the file(s). |
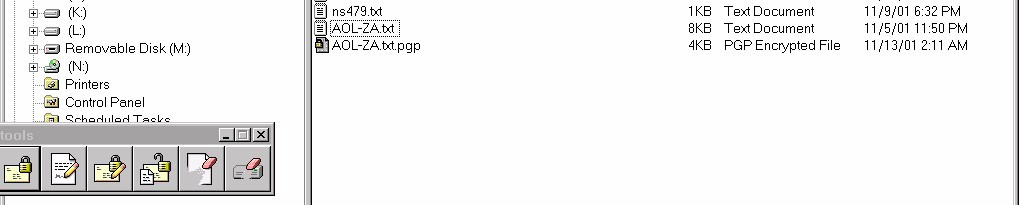 |
the original file (AOL-ZA.txt) & the encrypted file (AOL-ZA.txt.pgp) |
And here is our encrypted file along with our original. |
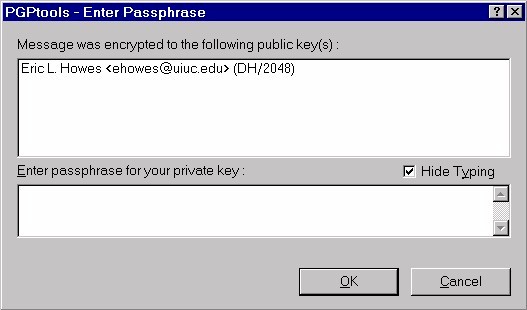 |
decrypting the file - Enter Passphrase |
Now let's switch roles here and play the recipient of the encrypted file. When we double-click on the encrypted file we are prompted for the passphrase for the private key associated with the public key that was used to encrypt the file. |
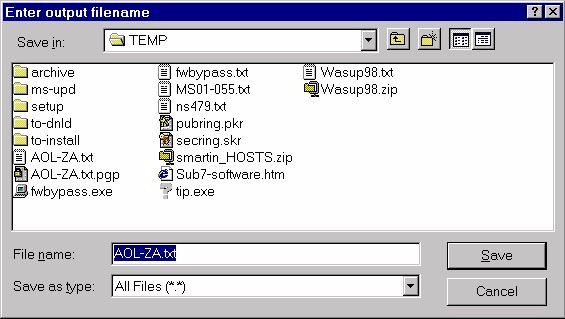 |
decrypting the file - Enter output file name |
And finally we select a file name for the file that we be extracted from the encrypted file we were sent. PGP will decrypt the file and put the plain text original in the location we specify. |
| PGP - File Signing/Verifying | ||
| Shot | Caption | Comments |
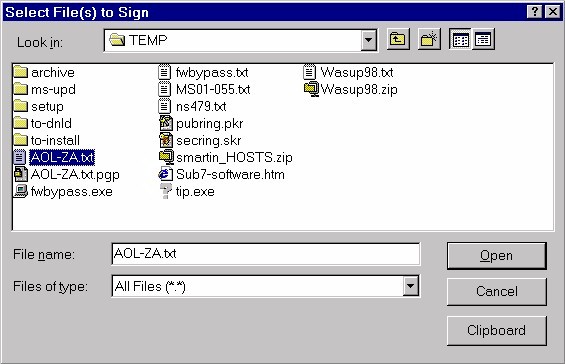 |
Select File(s) to Sign | We can also digitally sign files with PGP in order to assure the recpient that they have not been tampered with and that they originated from us. Again, we're using the PGPtools toolbar, and we must first select the file(s) we wish to sign. |
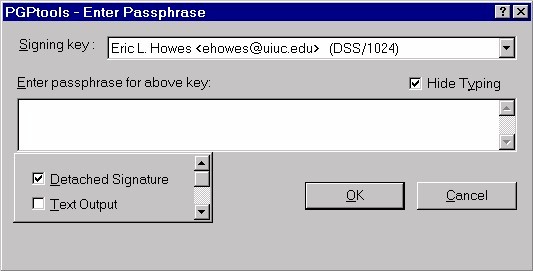 |
Enter Passphrase | Signing is done with our private key (that's what makes it a digital signature -- only we have the private key of the public-private key pair). So, we must enter the passphrase of the private key. |
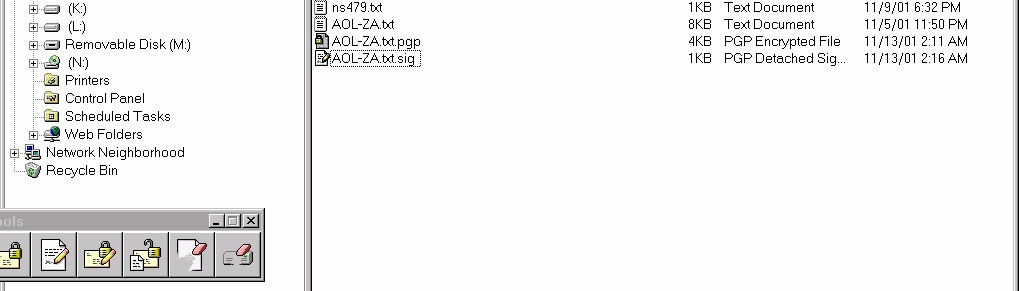 |
the original file (AOL-ZA.txt) w/ signature file (AOL-ZA.txt.sig) |
PGP then generates a signature for the signed file. Here is the original file along with its PGP signature file. Notice the two files are similarly named so that we can tell that they belong together. |
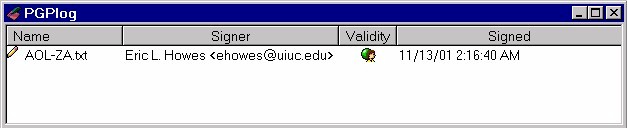 |
verifying the signature (double-click on sig file) |
Again, we'll now switch roles and play the recpient of the file with the accompanying signature. We double-click on the signature file and PGP verifies the signature for us, giving us this report. |
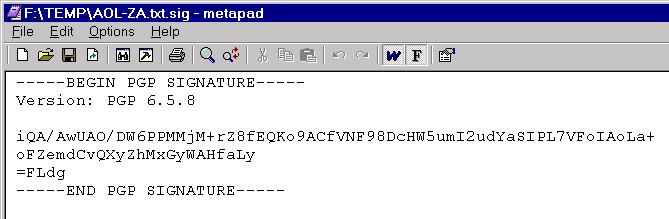 |
viewing the sig file with Notepad | Just for curiosity's sake, here's that sig file as viewed in Notepad -- it's just a plain text file with a PGP signature block. |